


Price: $3.66
(as of Apr 11, 2025 20:51:39 UTC - Details)
The Best Way to Apply Press-On Nails: A Comprehensive Guide
Introduction
Are you tired of spending hours at the nail salon, only to leave with a less-than-perfect manicure? Press-on nails might just be the solution you've been looking for. These fabulous faux nails are not only easy to apply but also come in a variety of styles, colors, and lengths to suit every taste. In this article, we will explore the best way to apply press-on nails, ensuring that you achieve a flawless look without breaking the bank or sacrificing your time. We’ll dive into practical tips, tricks, and techniques that will help you master the art of press-on nails.
Why Choose Press-On Nails?
Convenience of Press-On Nails
Press-on nails provide an incredible convenience factor. Whether you're rushing to get ready for a night out or simply want to switch up your look, press-ons can be applied in minutes. No more waiting for nail polish to dry or worrying about smudges. You can have salon-quality nails right at home!
Variety of Styles
With the vast array of designs available, there is a press-on nail set for everyone. From elegant French tips to vibrant nail art, you can express your personality through your nails. This versatility allows you to change your look as often as you like without the commitment.
Cost-Effective
Visiting a nail salon can become quite costly, especially if you go frequently. Press-on nails are an affordable alternative, saving you both time and money while still allowing you to maintain beautifully manicured hands.
Step 1: Gather Your Supplies
Essential Tools for Application
Before diving into the application process, it's important to gather all the necessary tools. Here’s a quick list of what you’ll need:
- Press-on nail set
- Nail file
- Cuticle pusher
- Alcohol wipes or nail polish remover
- Nail glue (if needed)
- Optional: top coat for extra shine
Having everything on hand will make the process smoother and quicker.
Step 2: Prepare Your Natural Nails
Nail Preparation is Key
One of the most important steps in applying press-on nails is preparing your natural nails. This helps the press-ons adhere better and last longer. Start by gently pushing back your cuticles using a cuticle pusher. Be careful not to push too hard, as this can cause damage.
Next, file your nails to the desired shape. A simple oval or square shape generally works best with press-ons. Finally, use alcohol wipes or nail polish remover to clean your nails. This removes any oils or residue, allowing for better adhesion.
Step 3: Choosing the Right Size
Finding the Perfect Fit
Most press-on nail sets come with multiple sizes to fit different nail beds. It's crucial to select the right size for each finger. Too small, and they won’t stick; too large, and they can look unnatural. Take your time to try on each nail and find the perfect fit before applying.
Step 4: Application Techniques
The Best Way to Apply Press-On Nails
Now that your natural nails are prepped and you’ve chosen the right sizes, it’s time to apply the press-on nails. Here’s a step-by-step guide:
-
Apply Glue (if necessary): If your press-ons come with glue, apply a small amount to your natural nail and the press-on nail. If they are self-adhesive, skip this step.
-
Press and Hold: Align the press-on nail with your cuticle and press down firmly. Hold the nail in place for about 10-20 seconds to ensure a secure bond.
- Repeat: Continue this process for each finger, taking care to ensure that each nail is properly aligned and adhered.
Tips for a Flawless Finish
- Avoid Water: Try not to expose your nails to water for at least an hour after application. This helps the glue set properly.
- Don’t Rush: Take your time during application. Rushing can lead to mistakes and a messy look.
Step 5: Finishing Touches
Enhance Your Look
Once all your press-on nails are applied, you can add a top coat for extra shine and protection. This step isn’t necessary, but it can give your nails a more polished look.
You might also want to add some nail art or stickers to personalize your press-ons further. Let your creativity flow!
Step 6: Removal Process
Safely Remove Press-On Nails
When it’s time to take off your press-on nails, it’s essential to do so safely to avoid damaging your natural nails. Here’s how:
-
Soak in Warm Water: Fill a bowl with warm soapy water and soak your nails for about 10 minutes. This helps loosen the adhesive.
-
Gently Pry Off: Using a cuticle pusher, gently pry the edges of the press-on nails. Be patient and avoid pulling, as this can cause damage.
- Clean Up: After removal, clean your natural nails and apply some moisturizer to keep them healthy.
Conclusion
In conclusion, applying press-on nails is a fantastic way to achieve beautiful, salon-quality nails in the comfort of your own home. By following the steps outlined in this article, you can ensure that your press-ons look great and last longer. Remember to prepare your natural nails, choose the right sizes, and apply them carefully for the best results. So why wait? Try out press-on nails today and enjoy the convenience and variety they offer!
With this guide, you’re now equipped with all the knowledge you need to make the most out of your press-on nails. Happy nail styling!
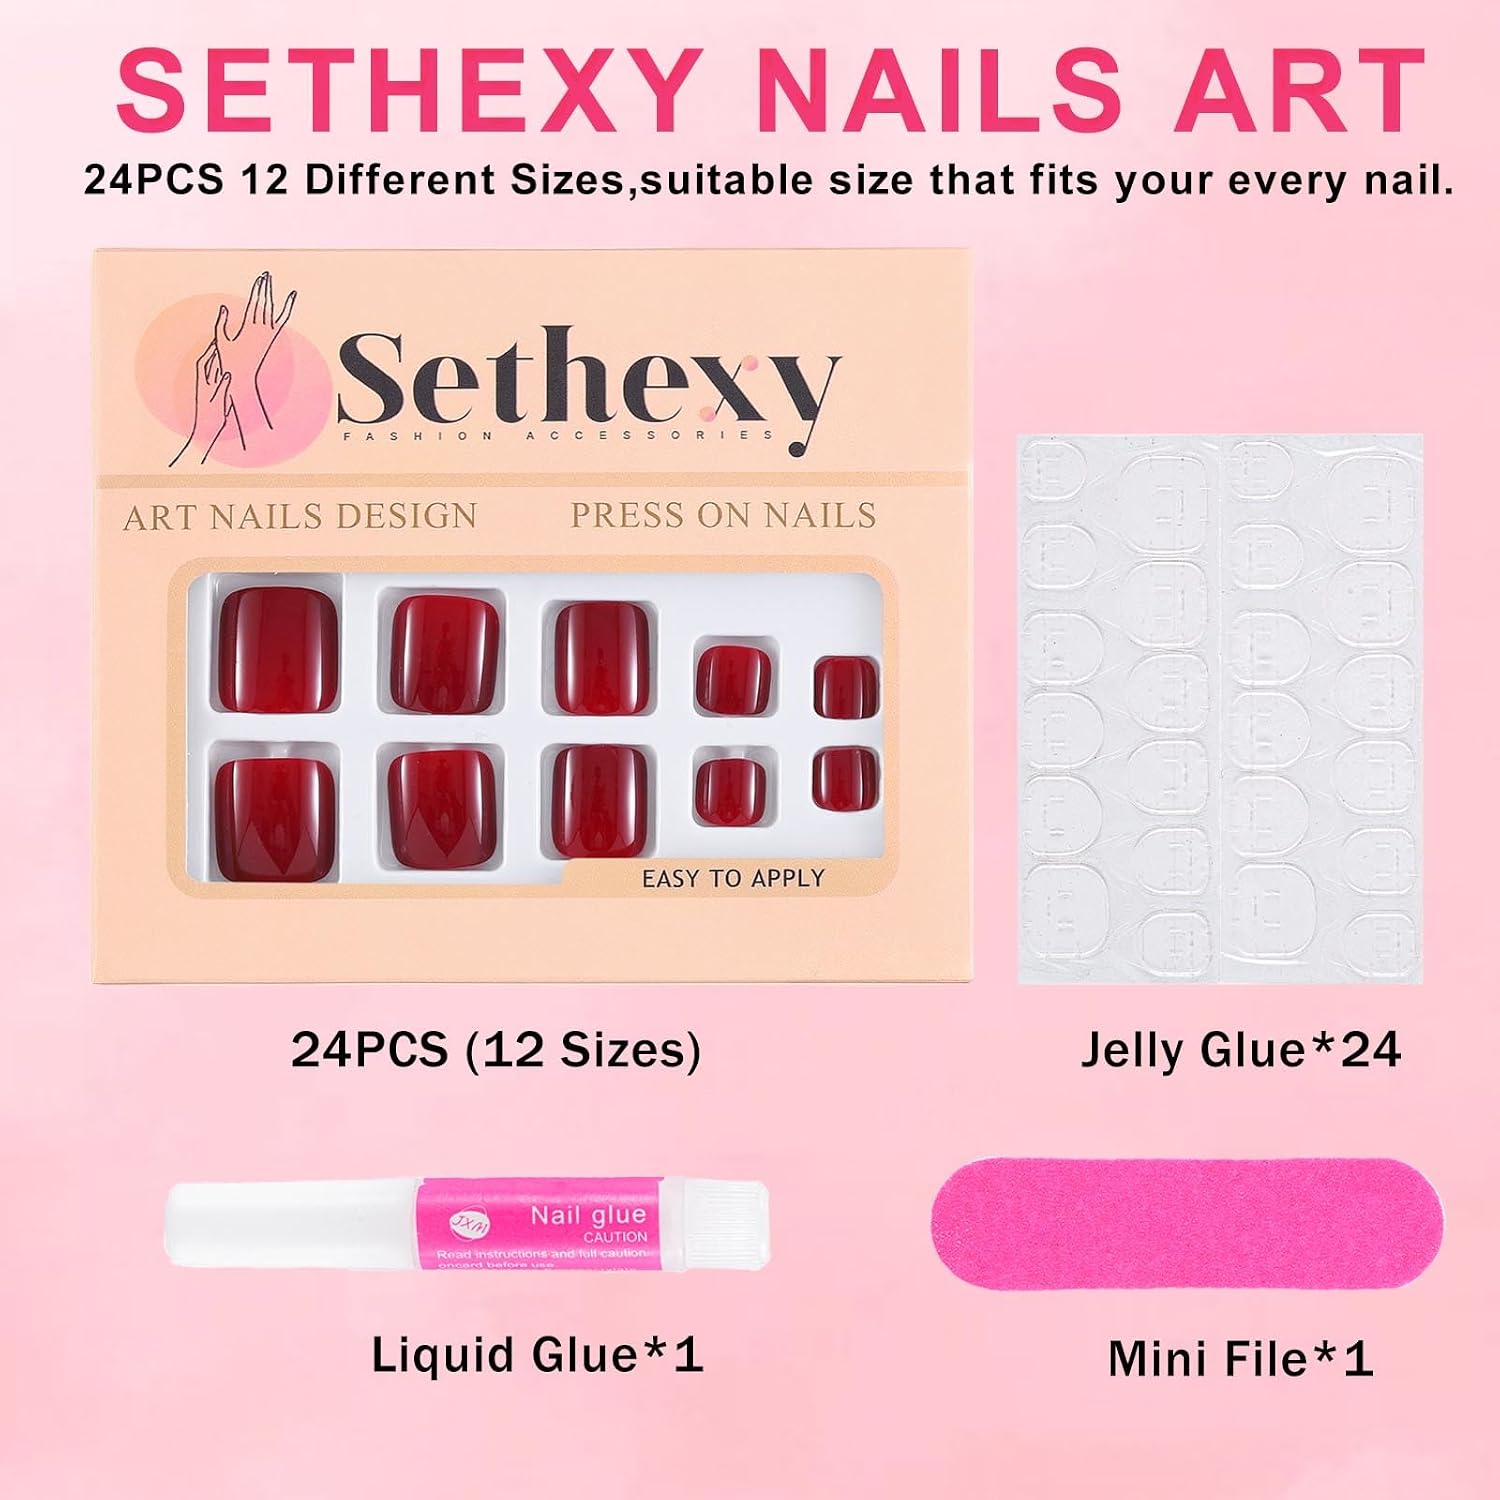
Different Size:Offer 12 Different Sizes,suitable size that fits your every finger
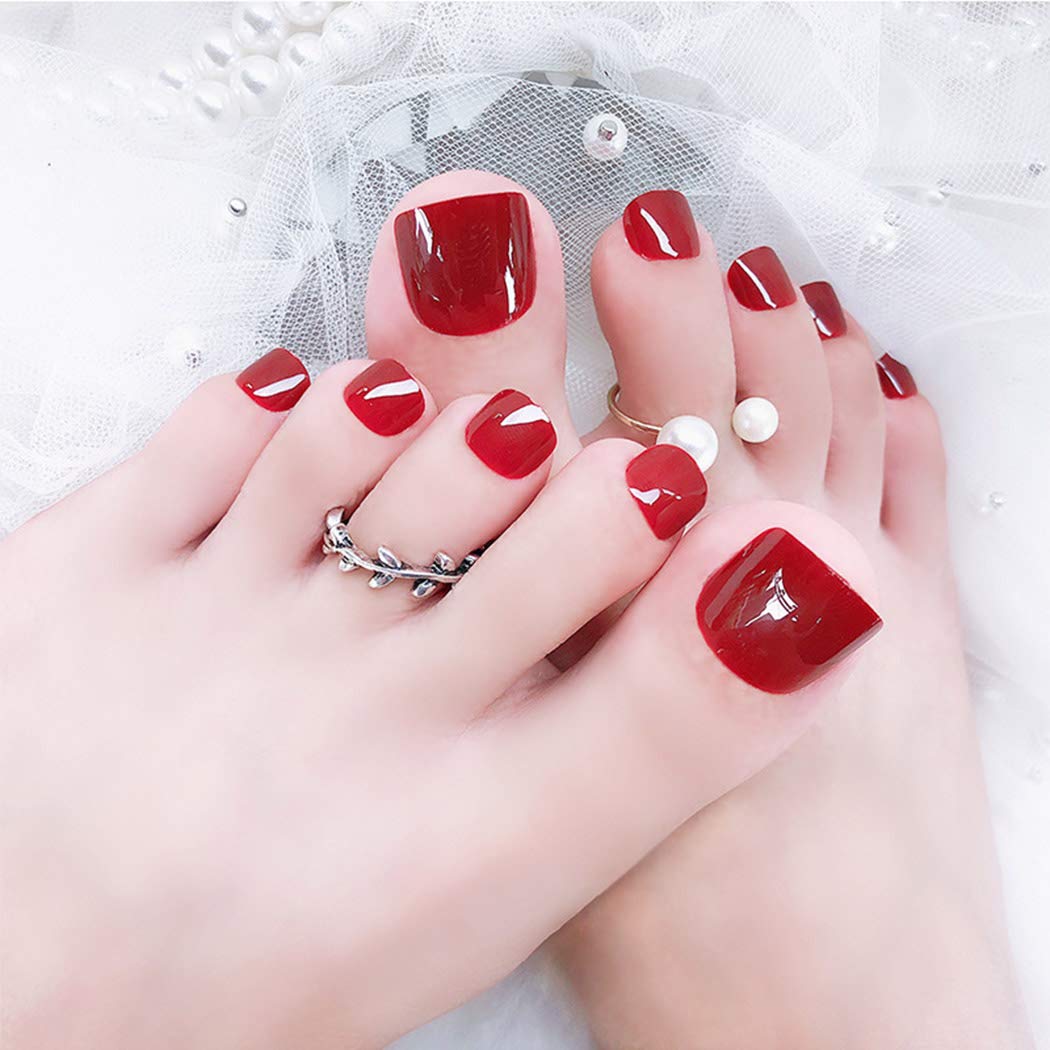
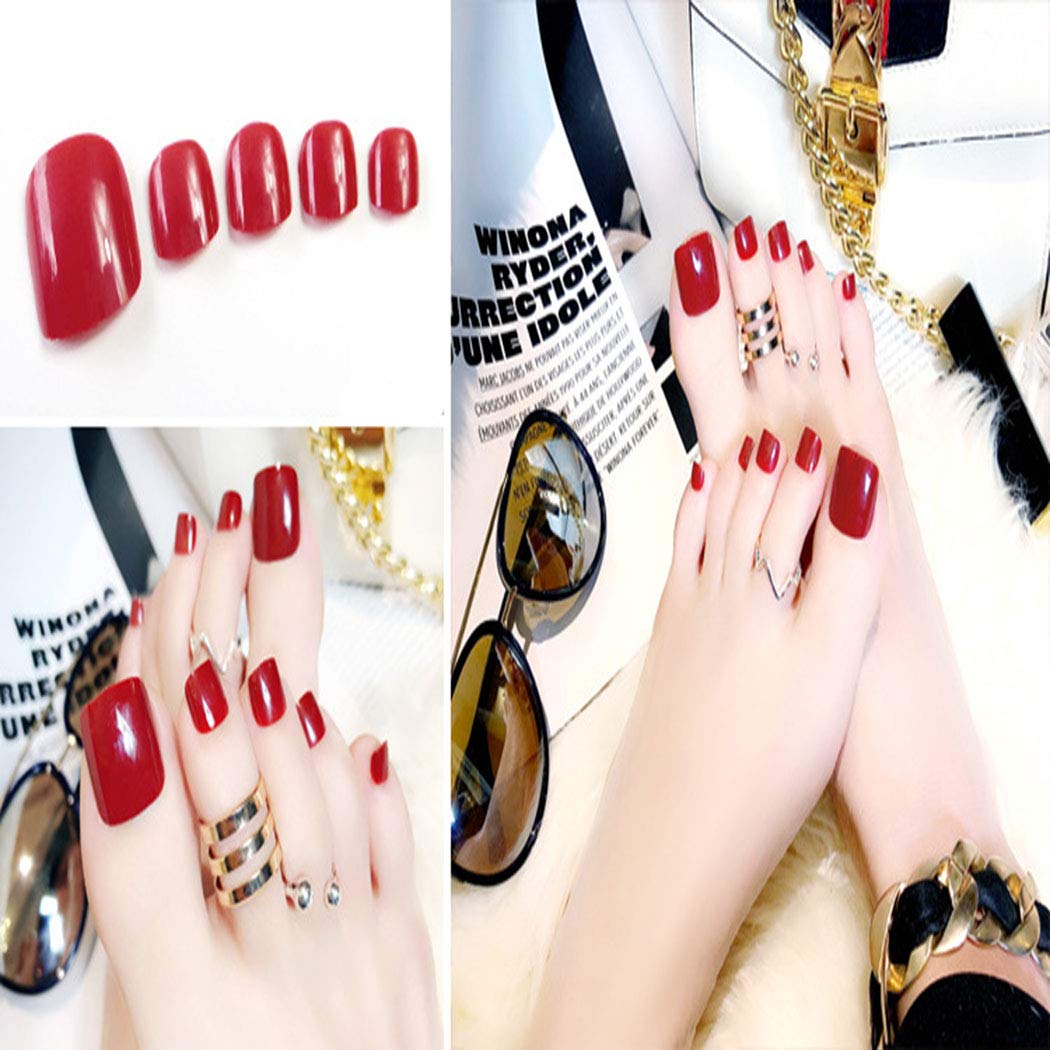
Multiple Application:As well as great for various occasions, like wedding, party or weekend dating
Convenient :Easy to apply and hold with nail sticker,easy to trim and file them in any length and shape you like
High Quality :Our nails are made with ABS material,No toxic,No smell,providing you a safe and comfortable nail art experience,It can be reused
Service: If you have any questions about the product, you can consult us, we will reply to you as soon as possible.